Your agent has a wallet. It still can't buy anything.

The Agent Payment Problem MPP Solves
An agent requests a report from a paid API. It has the tokens to pay. The service has something to sell.
Before either side can continue, they need to agree on the payment: the amount, the token, the recipient, the network, and what the payment authorizes the agent to receive. The service then needs to verify that the agreed transfer actually happened.
A wallet alone does not define that interaction.
The Machine Payments Protocol, or MPP, provides a challenge-to-credential-to-settlement flow. The merchant presents payment terms, the payer produces a signed credential, and the merchant verifies and settles the payment.
The payer authorizes the payment. The merchant submits the settlement transaction and pays its gas.
Arbitrum announced MPP support on July 8, alongside a separate x402 integration. MPP is its own implementation path, with client and server logic for negotiating and settling payments. I’ve covered x402 in many places including how to integrate with AWS and its x402 service. In this article, we’re going to walkthrough how to use Arbitrum to build an agentic payments service with MPP.
TL;DR: Agent pays for an API on @Arbitrum, merchant pays the gas. Runnable code here: https://github.com/hummusonrails/arbitrum-mpp-example
From Challenge to Credential
A payment challenge is an offer, not permission to spend.
The merchant states the terms under which it will serve the requested resource. The client evaluates those terms against its own policy before signing anything. In my open source example, that policy includes the expected merchant, token, network, resource, and maximum amount. An unexpected recipient or a price above the configured limit causes the client to reject the challenge.
That is an important boundary for an agent. Receiving a payment request should not automatically mean agreeing to it.
Once the challenge passes those checks, the payer signs structured payment data. The resulting credential carries the authorization back to the merchant. It is not an assertion that the money has already moved. It gives the merchant the information needed to verify and execute the authorized transfer.
The merchant then checks its own side of the agreement. Does this credential refer to a challenge it issued? Has that challenge expired? Does it belong to this route? Do the signed amount, recipient, and other payment details match?
Only after those checks does the settlement code proceed toward an onchain transaction. In the example on GitHub, the merchant waits for a successful transaction receipt and checks the token’s transfer event before returning the report with a payment receipt.
There are three distinct states here: payment requested, payment authorized, and payment settled. Keeping those states separate is more useful than treating every valid signature as a completed purchase.
Why the Merchant Pays Gas
The gas inversion is a division of responsibility.
The payer signs the payment authorization offchain. The merchant uses its own account to broadcast the settlement transaction and fund its execution. The payer’s token balance pays for the resource; the merchant’s ETH balance pays for settlement gas.
The benefit of the EIP-3009 approach is that the payer does not need to make a separate token approval or hold ETH for the payment itself. The token contract can execute a transfer authorized by the payer’s signature. The merchant submits that authorization.
Permit2, the token approval contract created by Uniswap, has a prerequisite that should not disappear behind the word “gasless.” Before Permit2 can move the payer’s tokens, the payer must approve it through the token contract. That approval is an onchain transaction. In my example, it requires payer ETH. Once the required allowance exists, the merchant submits and pays gas for the signed payment’s settlement.
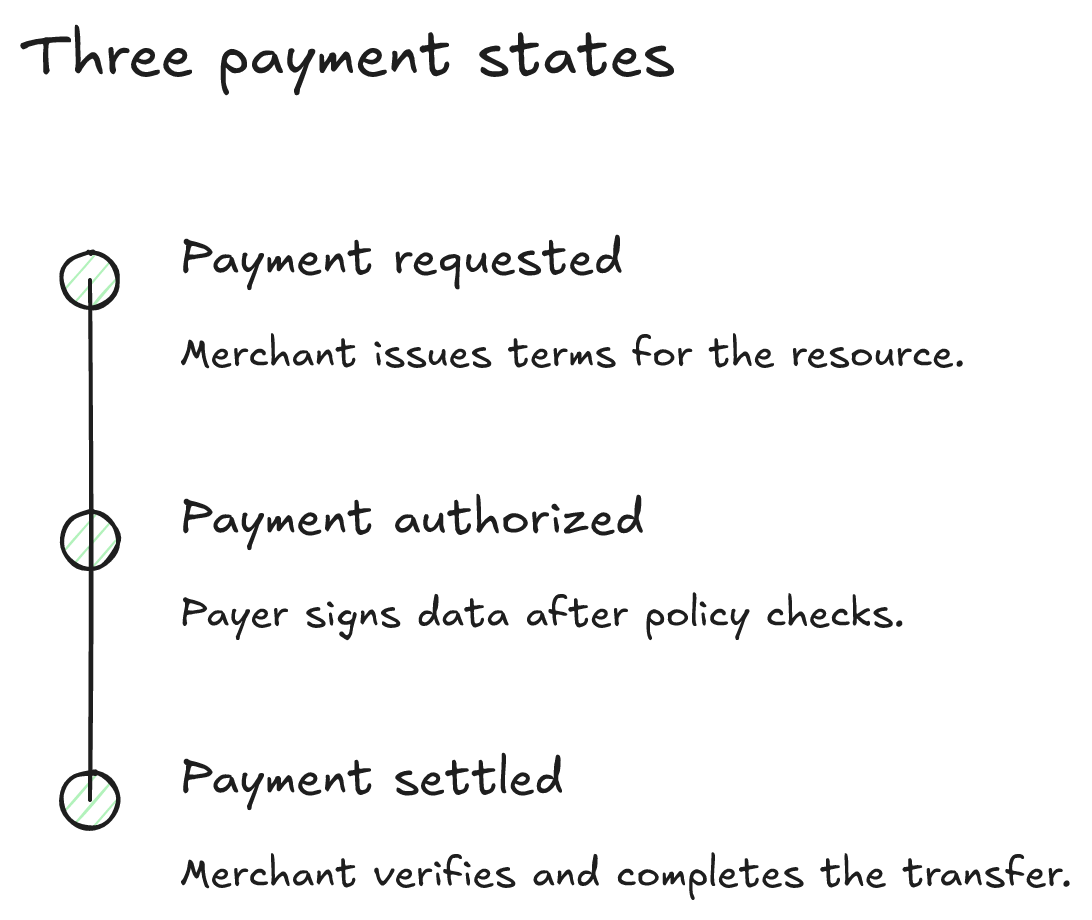 A diagram illustrating three payment states.
The example also approves exactly one paid item’s amount, rather than granting an unlimited allowance. Another Permit2 purchase therefore requires another approval after that allowance is consumed.
What does this mean for you when building your own app with MPP agentic payments?
Settlement becomes part of operating the service. The merchant needs a funded account, transaction handling, receipt verification, and a plan for uncertain outcomes.
**Gas has not vanished. **
Its cost and operational responsibility have moved to the merchant. That belongs in the service’s pricing and infrastructure decisions, not in a claim that the payment is free.
Two Ways to Settle
EIP-3009: authorize the token transfer directly
EIP-3009 provides transferWithAuthorization. The payer signs transfer parameters that include the sender, recipient, amount, validity window, and nonce. Someone else can then submit that authorization to a token contract implementing the standard.
In the example, authorizationData() constructs those terms, including a nonce derived from the payment challenge. The merchant reconstructs the expected data and verifies the signature before encoding the contract call.
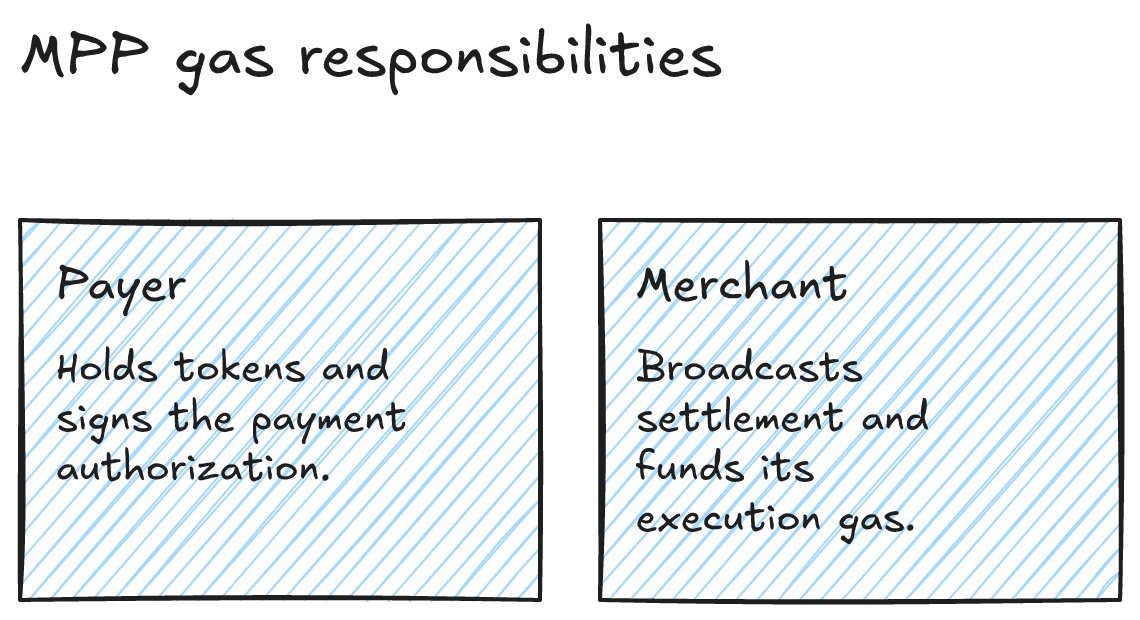 A graphic detailing gas responsibilities for payers and merchants.
That is a good starting point for a single-recipient payment using a token with the necessary authorization support, such as USDC. There is no separate Permit2 allowance to manage.
Permit2: authorize a payment through an approved contract
Permit2 provides a separate signature-based transfer mechanism for compatible ERC-20 tokens. The token does not need to implement EIP-3009, but it must already have granted Permit2 sufficient allowance.
The example I created uses permitWitnessTransferFrom. Its signed witness includes the challenge hash and resource identifier, and the merchant verifies those values before settlement.
The witness is what makes this a payment for a specific thing rather than a general transfer. Without it, a signed Permit2 transfer says “move this amount to this address.” With the challenge hash and resource identifier signed in, the merchant can reject a credential that was signed for a different challenge or a different route, even if the amount and recipient happen to match.
The cost of this path is the approval step. The payer needs ETH once to grant Permit2 its allowance, and in the example that allowance covers a single report, so a second Permit2 purchase means a second approval. That is a deliberate choice in the demo, made so an agent never holds a standing allowance larger than what it intends to spend. In production you would size that allowance to your own risk tolerance.
Which one to use
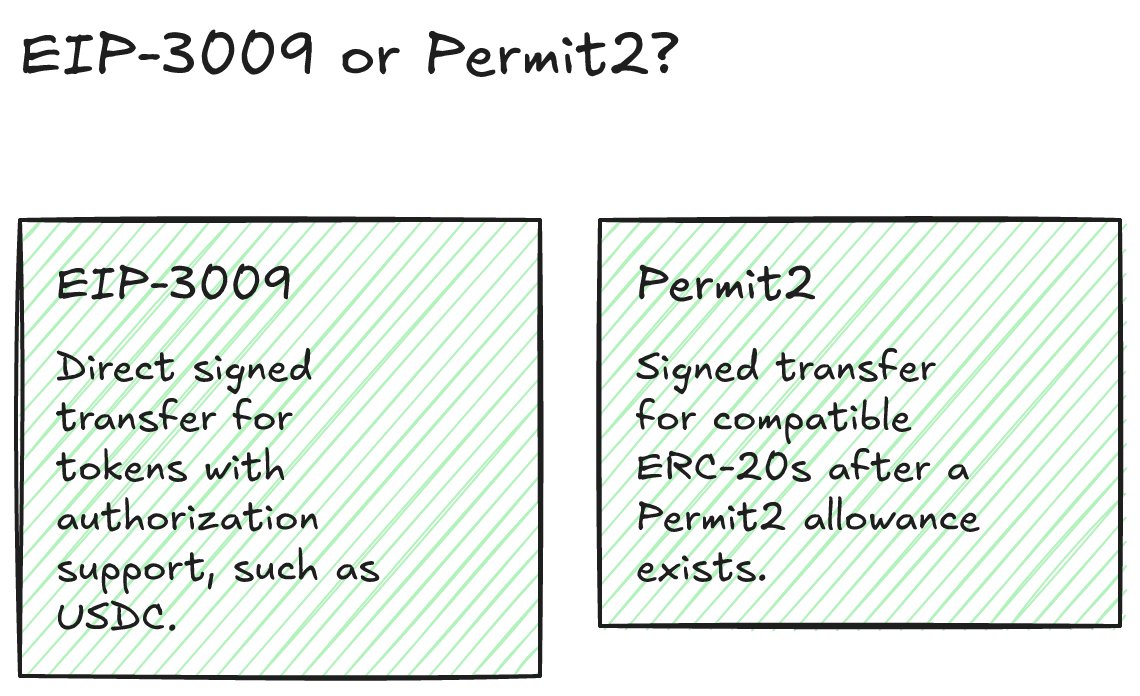 A comparison of EIP-3009 and Permit2 transfer options.
Start with EIP-3009 if your payment token supports it. USDC does, the payer never needs ETH, and there is no allowance to size or track.
Use Permit2 when the token you need to accept does not implement EIP-3009. Most ERC-20 tokens fall in this category. Budget for the payer holding a small amount of ETH and for an approval flow in your client, and decide up front whether a per-purchase allowance or a larger standing one fits your agent’s spending policy.
Both paths converge on the same merchant-side checks in the example. The merchant simulates the transfer with eth_call before submitting, waits for the receipt, and confirms the token’s Transfer event before it serves the report. The signature scheme changes; the verification discipline does not.
 A flowchart illustrating the payment credential verification process.
Get Started Building
The example runs end to end on a local chain with no cloud accounts and no external facilitator.
 A flowchart illustrating the payment process involving an agent payer, merchant, and token contract.
That starts a local chain and an HTTPS merchant, deploys a demo USD token, and buys one report through each settlement path for 0.01 example USDC token. Add –verbose to see full transaction hashes and receipts, and run pnpm verify to execute the payment and rejection tests.
To run it against Arbitrum Sepolia, put a funded key in .env under PRIVATE_KEY and run pnpm test:sepolia. The wallet needs about 0.0003 Sepolia ETH. If you want a separate merchant and client with real test USDC, the README walks through wallet setup, funding from a faucet, and running each side in its own terminal.
The code is organized so you can swap out the part that matters to you. src/client.ts holds the spending policy and signing. src/merchant.ts issues challenges and serves the paid route. src/settlement.ts verifies, simulates, and settles. Replace the report handler with your own endpoint and you have a paid API an agent can call.
 Flowchart illustrating the file structure and functions of a payment processing system.
If you want to compare it against x402, my AWS x402 example at https://github.com/hummusonrails/arbitrum-x402-aws runs the same merchant-and-agent flow with an x402 facilitator in the loop.
Open House Singapore’s online 3-week buildathon has just kicked off with over $100k in prizes and grant opportunities. The Singapore IRL Founder House is not far away and coming this fall. These are perfect opportunities to see how you can meaningfully add agentic payments to your product with MPP or x402.
Excited to see what you end up building and how you incorporate agentic payments into your application. If you need any help, the Arbitrum DevRel team is here to lend a hand.